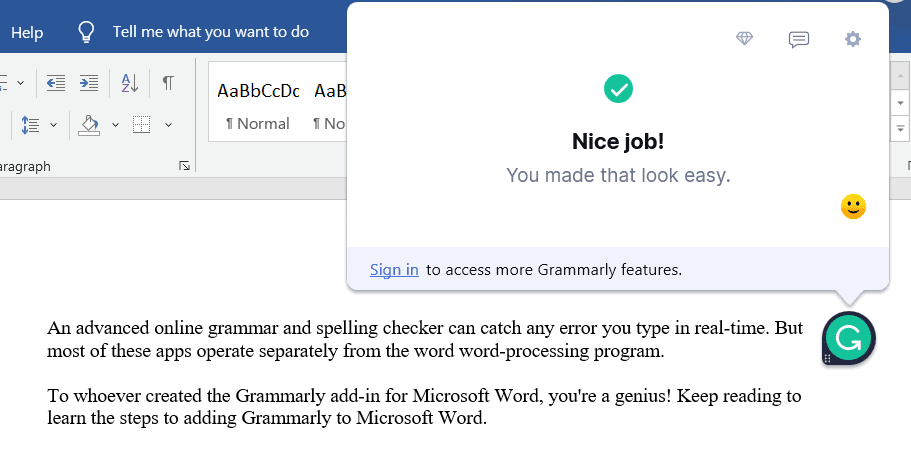
An advanced online grammar and spelling checker can catch any error you type in real-time. But most of these apps operate separately from the word word-processing program.
To whoever created the Grammarly add-in for Microsoft Word, you’re a genius! Keep reading to learn the steps to adding Grammarly to Microsoft Word.
Can You Add Grammarly to Word?
Grammarly is an online grammar checker offering grammar and spelling checks in both free and premium versions. It’s available in a plug-in that integrates with Microsoft Word if you have Microsoft Office, 2007, 2010, 2013, 2016, and 2019.
It’s best if you already have a subscription to Microsoft Office to download the add-in successfully. You can get it on the Grammarly website or the Microsoft Store on MS Word. On Mac, your Microsoft Office version should be 2016 or newer.
You can also access the online editing tool as an extension for Safari, Firefox, Google Chrome, and other browsers. Or use the desktop app to check your writing offline. You can do this by dragging and dropping your document into the Grammarly desktop application.
How to Add Grammarly to Word for Windows
Follow these steps to add Grammarly to Word for Windows. This guide also applies to other Outlook-Personal Windows 10 devices.
1. Go to Grammarly’s Page for the MS Office Plug-In.
Google “Grammarly for Website” and click on the first result, or click here to access the landing page.
2. Download Grammarly on Their Website.
Select Get add-in. This installer is free of charge, and the installation process only takes about 2-5 minutes to download, depending on your device. Once you’ve finished downloading, double-click the file at the lower left of the browser window.

If there’s no file at the bottom, go to C: > User > (your name) > downloads, then download the file.
3. Click “Get Started” on the Pop-Up Window.
Note that the language on the pop-up installation window may differ according to your device. However, you should still be able to open the downloaded file.
Once the download is finished, click on Get Started.

4. Choose “Install” Then “Finish”
Follow the on-screen instructions by selecting “Grammarly for Word” and clicking “Install.”
Once you’re done, another dialog box will appear. Click “Finish.”
5. Open Microsoft Word
Launch your MS Word and create a new document. You may also opt to open an existing document.
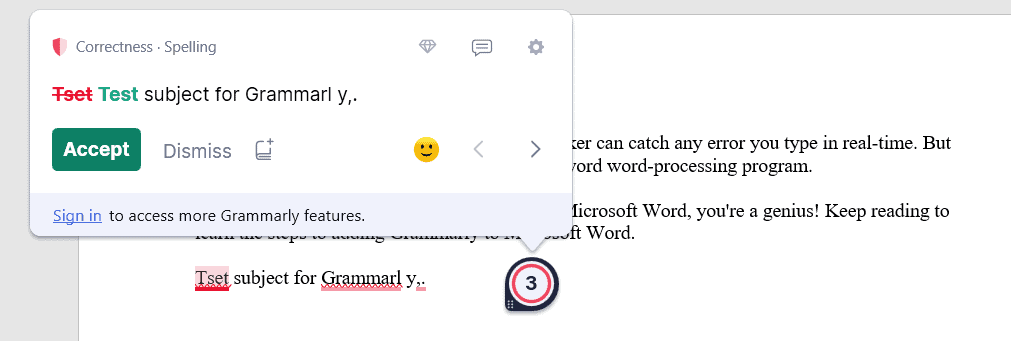
Some devices allow Grammarly to work when you open the word processor automatically. Type your sentence, and the add-in will underline your grammar and spelling errors.

6. Click “Open Grammarly”
Click “Open Grammarly” on the Home tab if Grammarly doesn’t automatically work. Your Home tab is the default tab when you open the program.
Click “Log In.” A browser or window will automatically appear. Log in your Grammarly details, then click “Sign In.”
7. Accept the Corrections.
Click the Word icon on your taskbar to see if Grammarly is working. If it’s already working, you can start writing your sentences. The plug-in will spot error details in your writing and offer suggestions to correct them.

8. Reinstall if You Have an Old Version
If your Grammarly for Microsoft Office won’t update, uninstall the current version through Control Panel > Control Programs and Features > right-click Grammarly for Microsoft Office Suite > Uninstall.
You may also uninstall by right-clicking the Start button > Apps and Features > Grammarly for Microsoft Office Suite > Uninstall.
Go back to step one to reinstall the Grammarly add-in.
How to Add Grammarly to Word on Mac
The steps for adding Grammarly to Word on your Mac device are different.
1. Open MS Word
Launch MS Word on your Mac and create a new document. You can also open an existing one.
2. Choose the Insert Menu
Head to the menu bar and then select the second option, “Insert.” You will find a “Get Add-ins” button below with three squares and a plus sign in red. Click that button. This menu will bring you to the Microsoft Store.
3. Look for Grammarly for Microsoft Word
Type Grammarly on the search bar and select “Grammarly for Microsoft Word” once it appears on the results list. On the detail page, click “Get it now.” Depending on your device and connection, the download process only takes three to ten minutes.
4. Open in Word
Once your download is finished, the button will change to “Open in Word.” Click it. The application will open a new Word document with instructions on how you can use it.
5. Turn on Grammarly
A fresh document on your program will automatically open. It’s a user manual on the application, offering instructions on how to conduct spelling and grammar checks while writing.
Start the add-in by clicking on the “Enable Grammarly” button. The app will automatically catch your mistakes in spelling and grammar as you write. Feel free to open the sidebar for more corrections and suggestions.
The Verdict
Grammarly has become a famous online writing editor because it’s available on several platforms. You can access it as a keyboard application, desktop app, browser extension, and a Word add-in.
It’s also the most accurate tool for correcting your spelling and grammatical errors. Whether you do academic or creative writing, Grammarly will offer the best solutions to your writing.
Was this step-by-step guide to installing Grammarly on your word processing program helpful? Download Grammarly for Word now to shield your sentences from poor quality! And if you want to check out other editing software, read up on our reviews of Ginger and ProWritingAid!
