Every written content should undergo careful reading and fixing before you publish, present, or submit it. This process is known as proofreading, and it uses different signs to highlight grammar, formatting, and punctuation mistakes.
When I first began working with an editor and proofreading service, I had no idea what any of the symbols were when I got my draft back full of weird marks. It took a while to learn them all and now I’m putting them together with a breakdown of each.
Take a look at these 13 proofreading and editing symbols that will help you mark errors in writing. I also provided a chart of these signs and examples for each notation.
Proofreading Marks at a Glance
Below is a chart of different proofreading marks and their meanings. This series of symbols will help you in your writing and editing process. Book publishers, professional authors, and qualified editors all-around use these common proofreading symbols when working with everything from academic documents to 80k-word books.
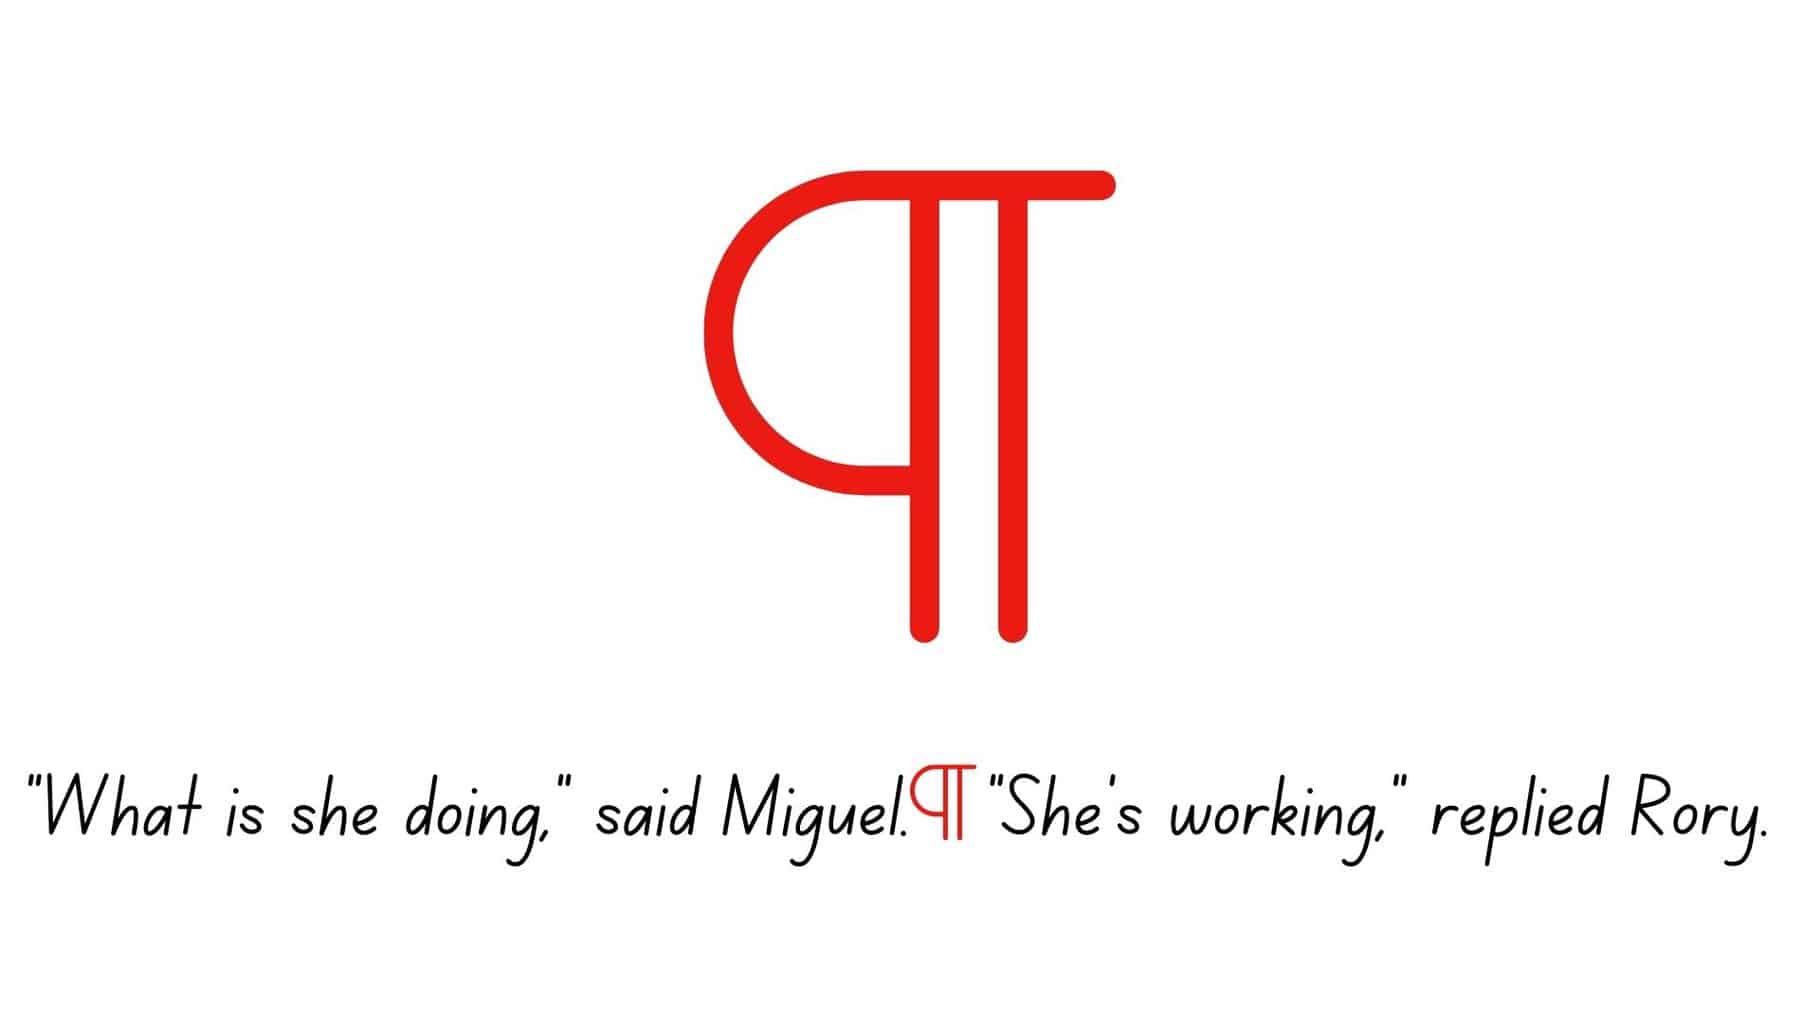
Meaning:
New Paragraph
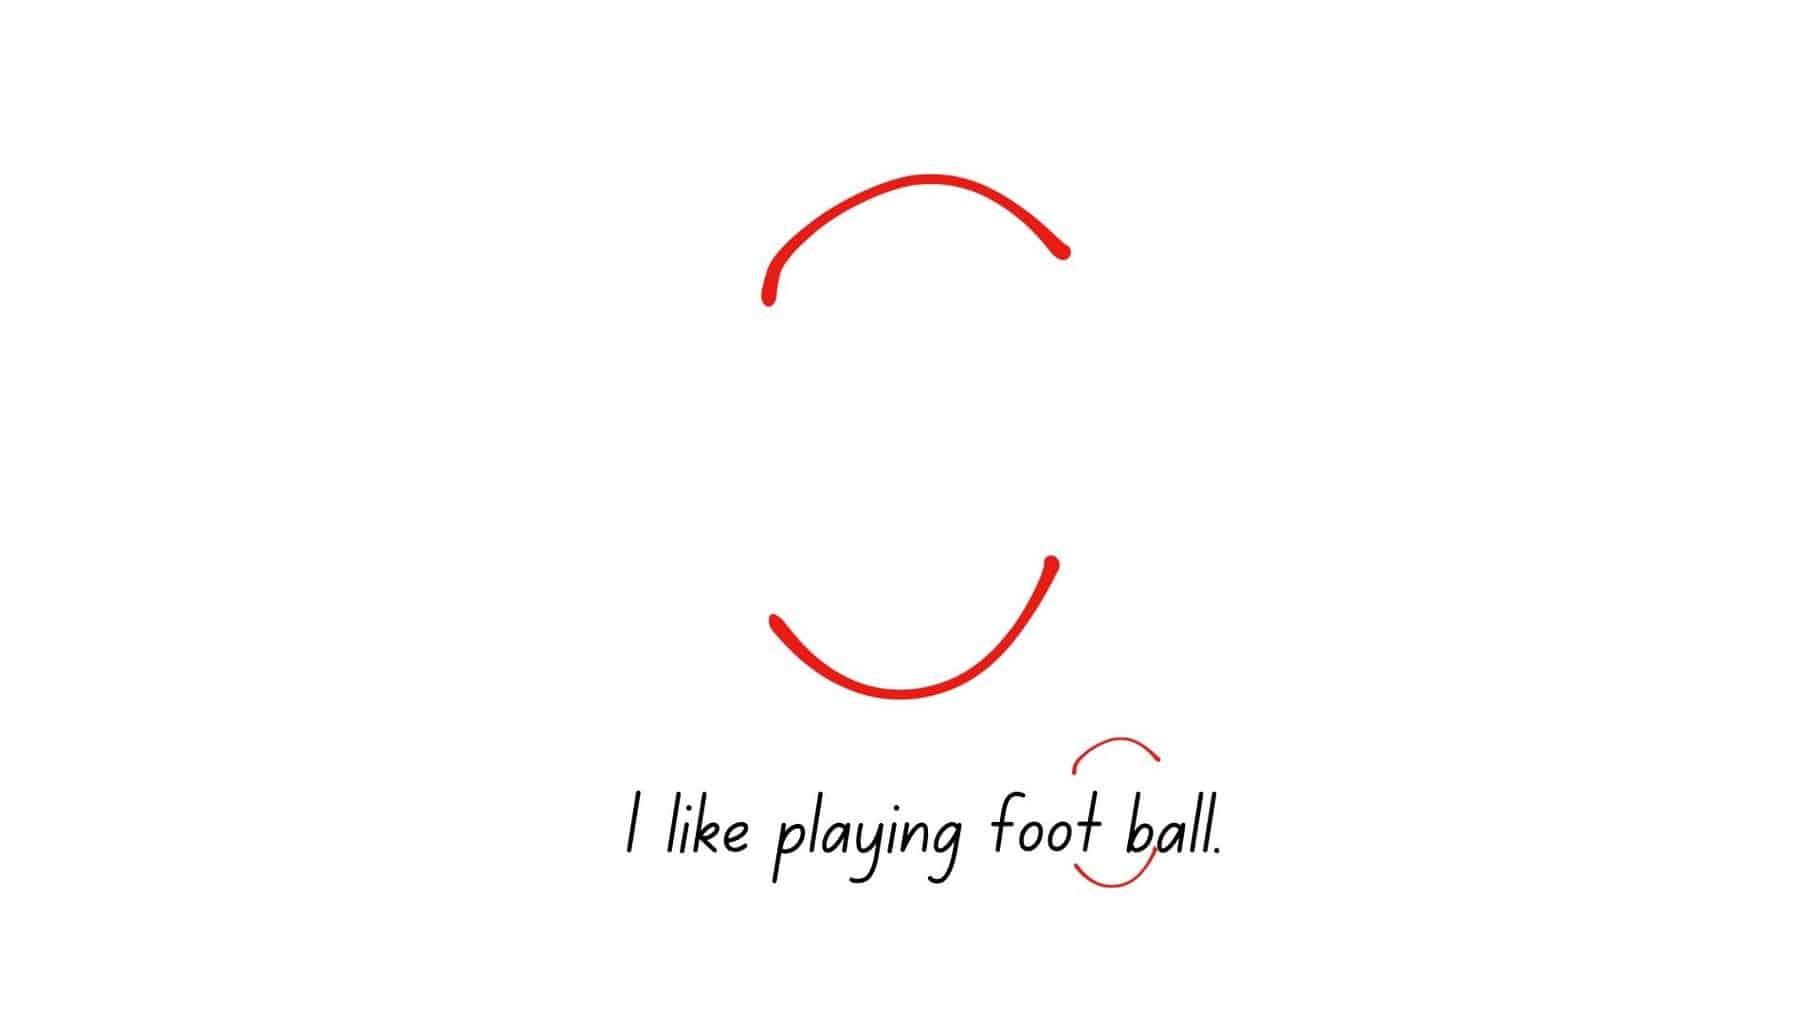
Meaning:
Close Up Space
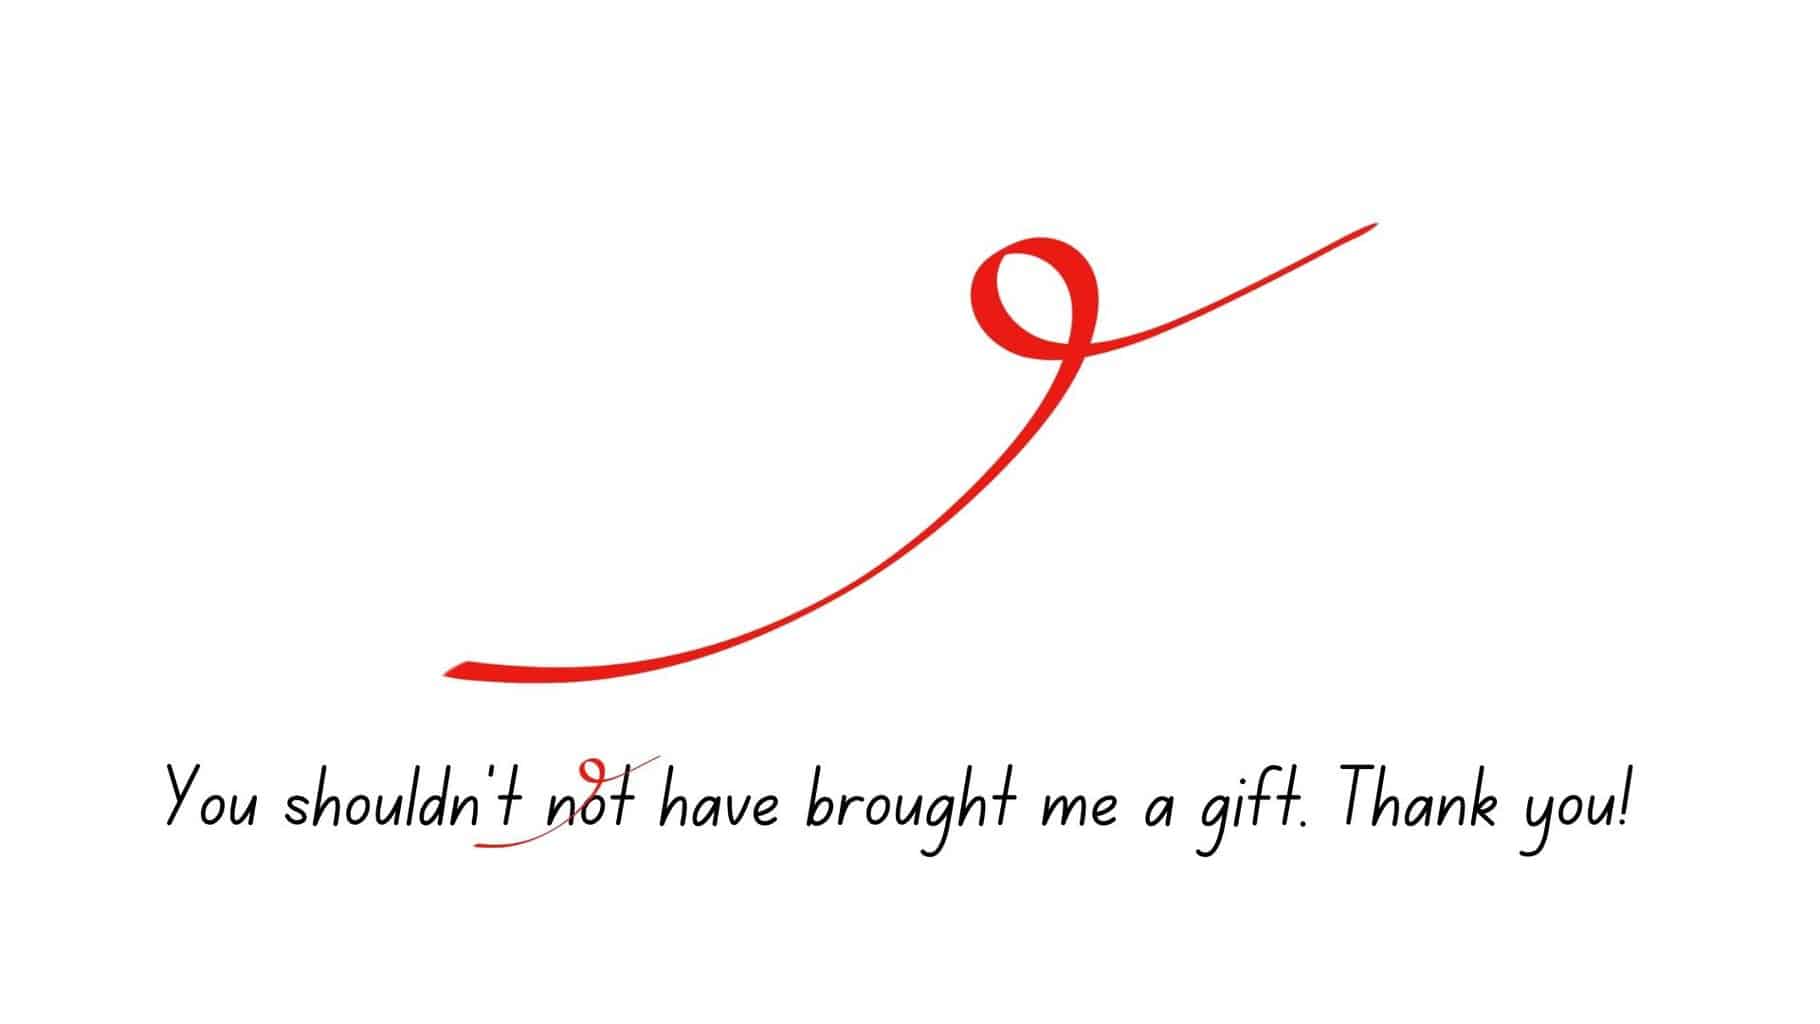
Meaning:
Delete/Take Something Out
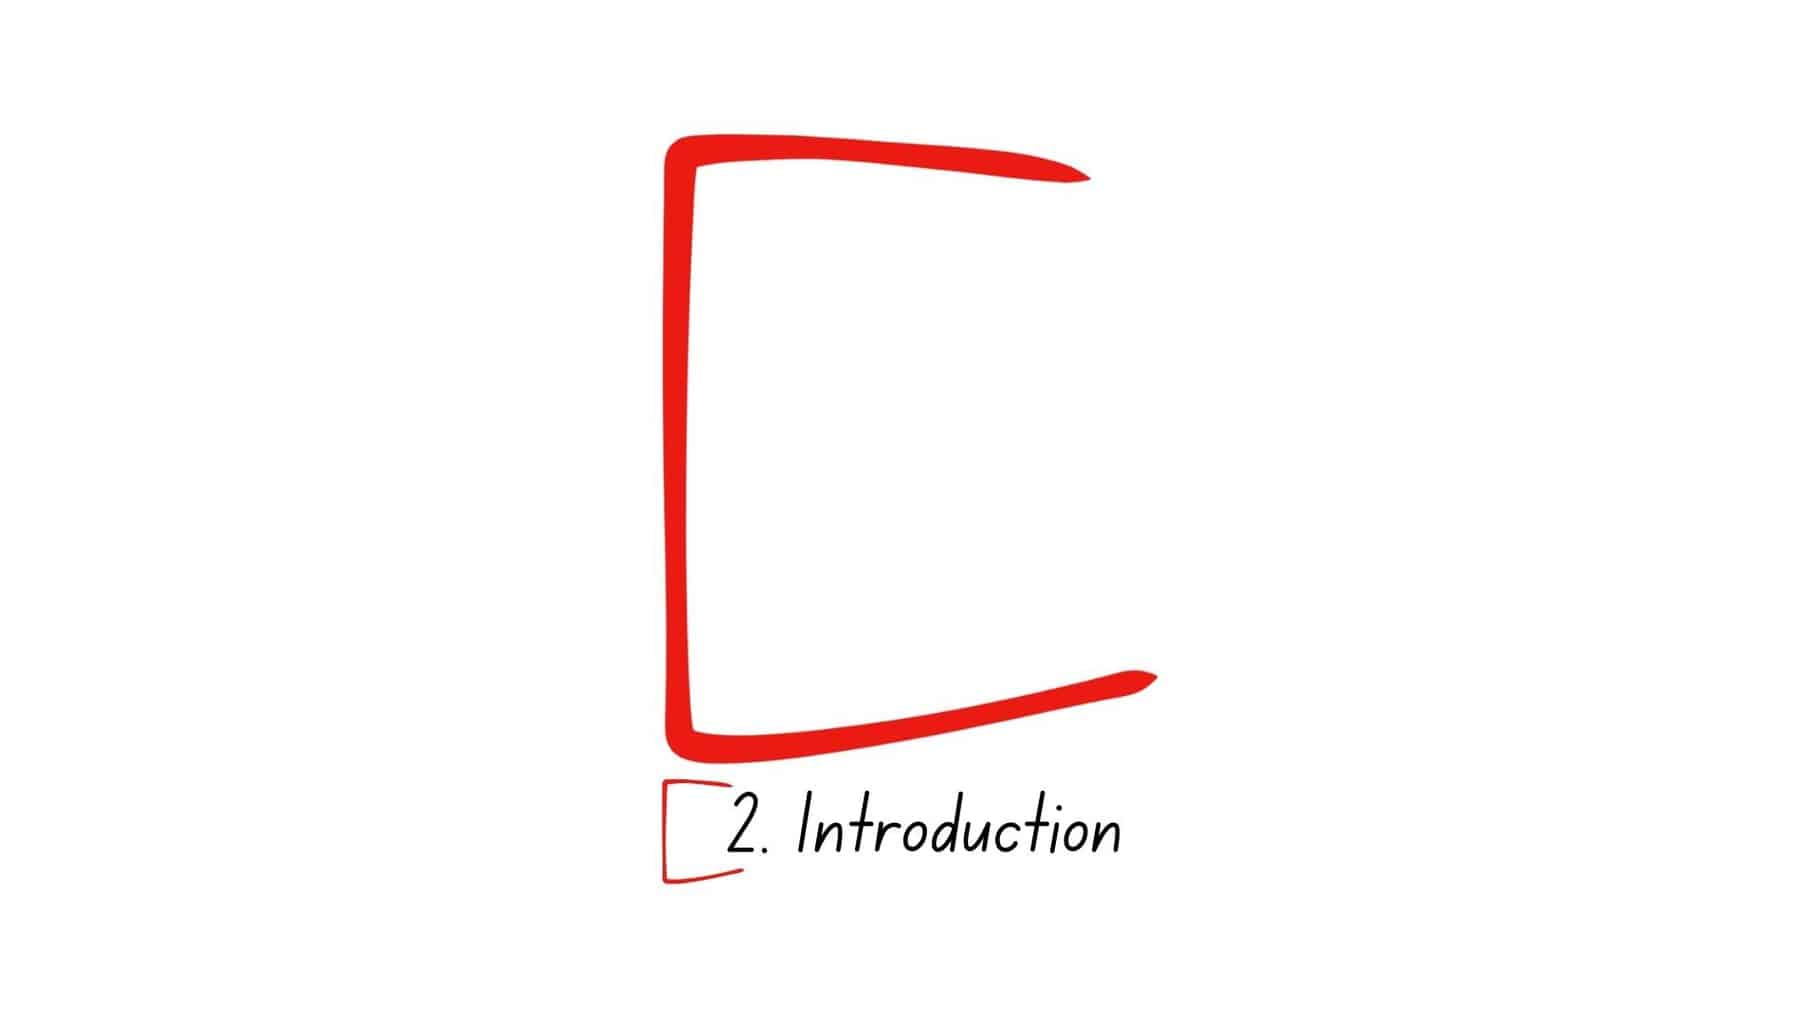
Meaning:
Move Left
Meaning:
Move Right
Meaning:
Insert

Meaning:
Insert En Dash
Meaning:
Insert Em Dash
Meaning:
Set in Lowercase
Meaning:
Change To Capital Letter
Meaning:
Align Horizontally
Meaning:
Align Vertically
Meaning:
Add Space
Proofreading Marks and Symbols
Let’s discuss the common proofreading marks one by one to know what they mean and how to use them. I also provided examples for each strange symbol and standard mark.
New Paragraph
This inverted letter “P” with two vertical lines is a paragraph editing symbol that means you should begin a new paragraph. You’ll usually find this new paragraph mark in dialogue exchanges in stories or when the writer introduces a new idea in their essay.
These notations will help you practice proper flow in your narrative. Breaking down your text into chunks also helps with readability.
Close Up Space
Proofreaders use this horizontal pair of parentheses to correct unequally wide spaces or double spaces. If you find this shorthand symbol in your writing, be sure to close that space in between.
Delete Mark or Take Something Out
The delete symbol is one of the most commonly used proofreading marks. Draw this quick loop over a text if you want the writer to remove a word. You’ll find these over repeated words, unnecessary adverbs and adjectives, and overused terms.
Move Left
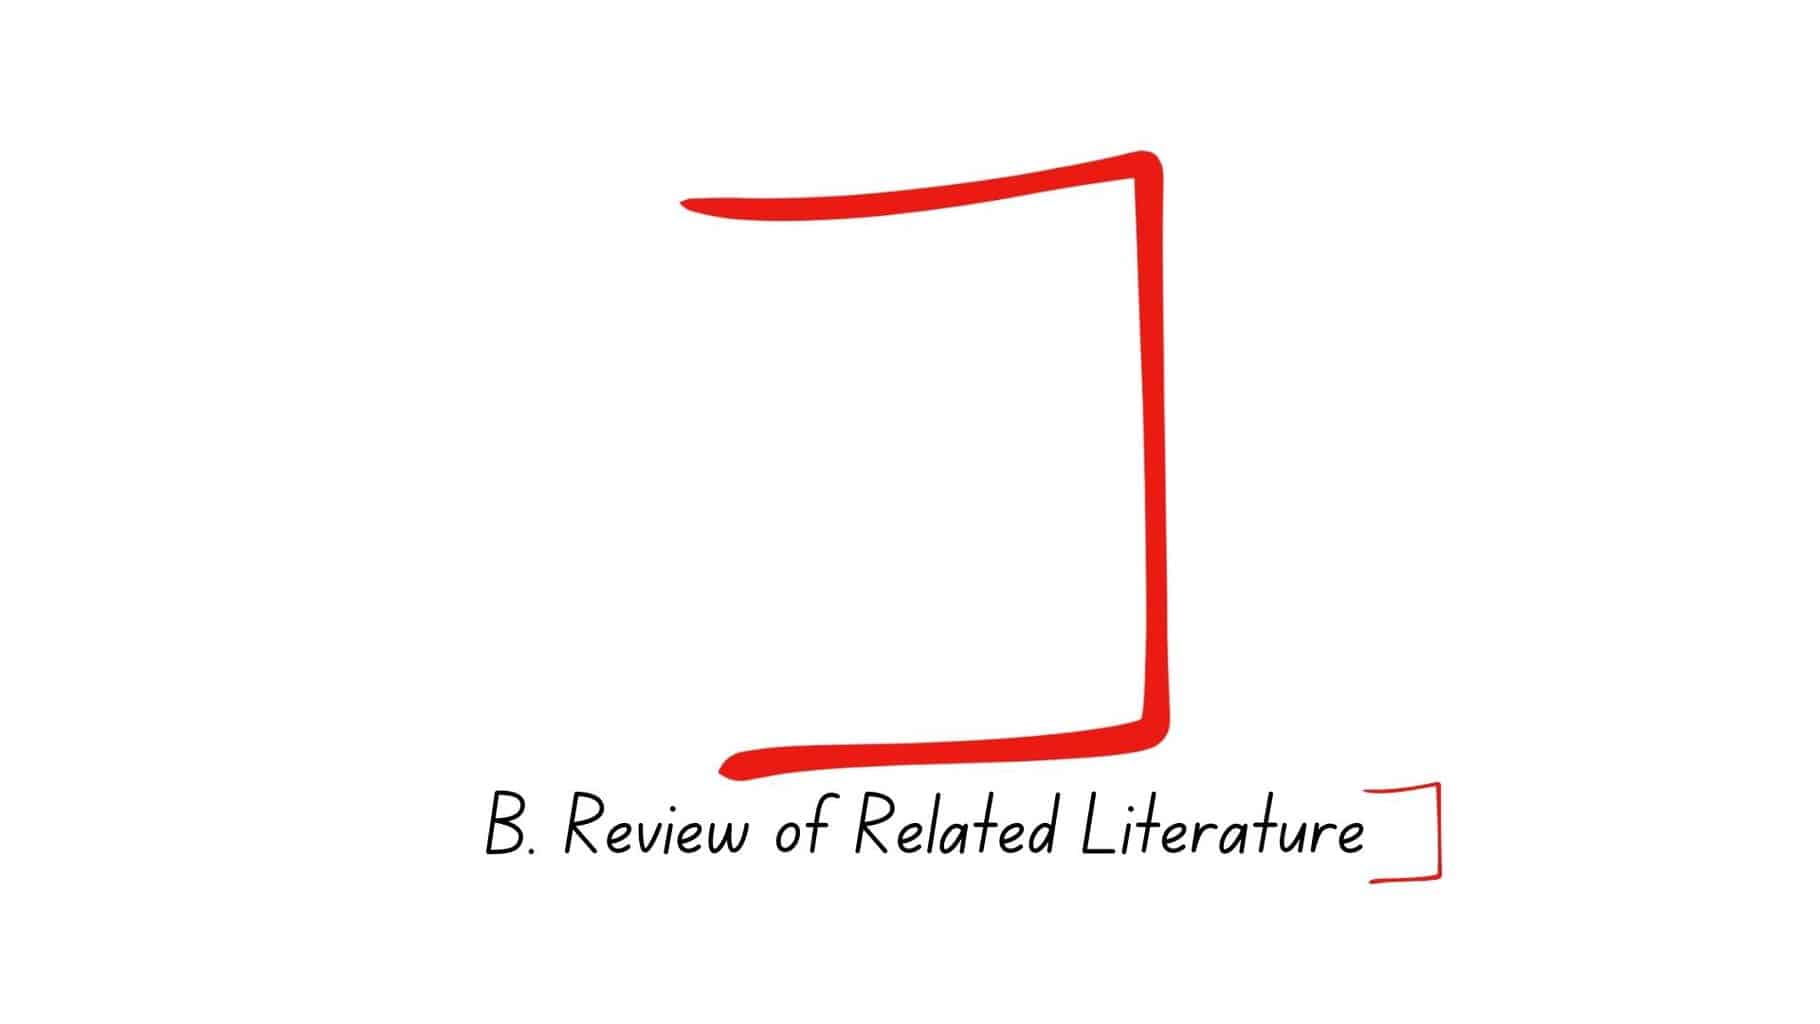
Move left is also one of the most common proofreading signs, which means you should move the text to the left. It is represented by a bracket ([).
Move Right
This symbol is represented by a closing bracket (]), which means you should move the text to the right. It will help make the pages of your content more organized and orderly.
Insert
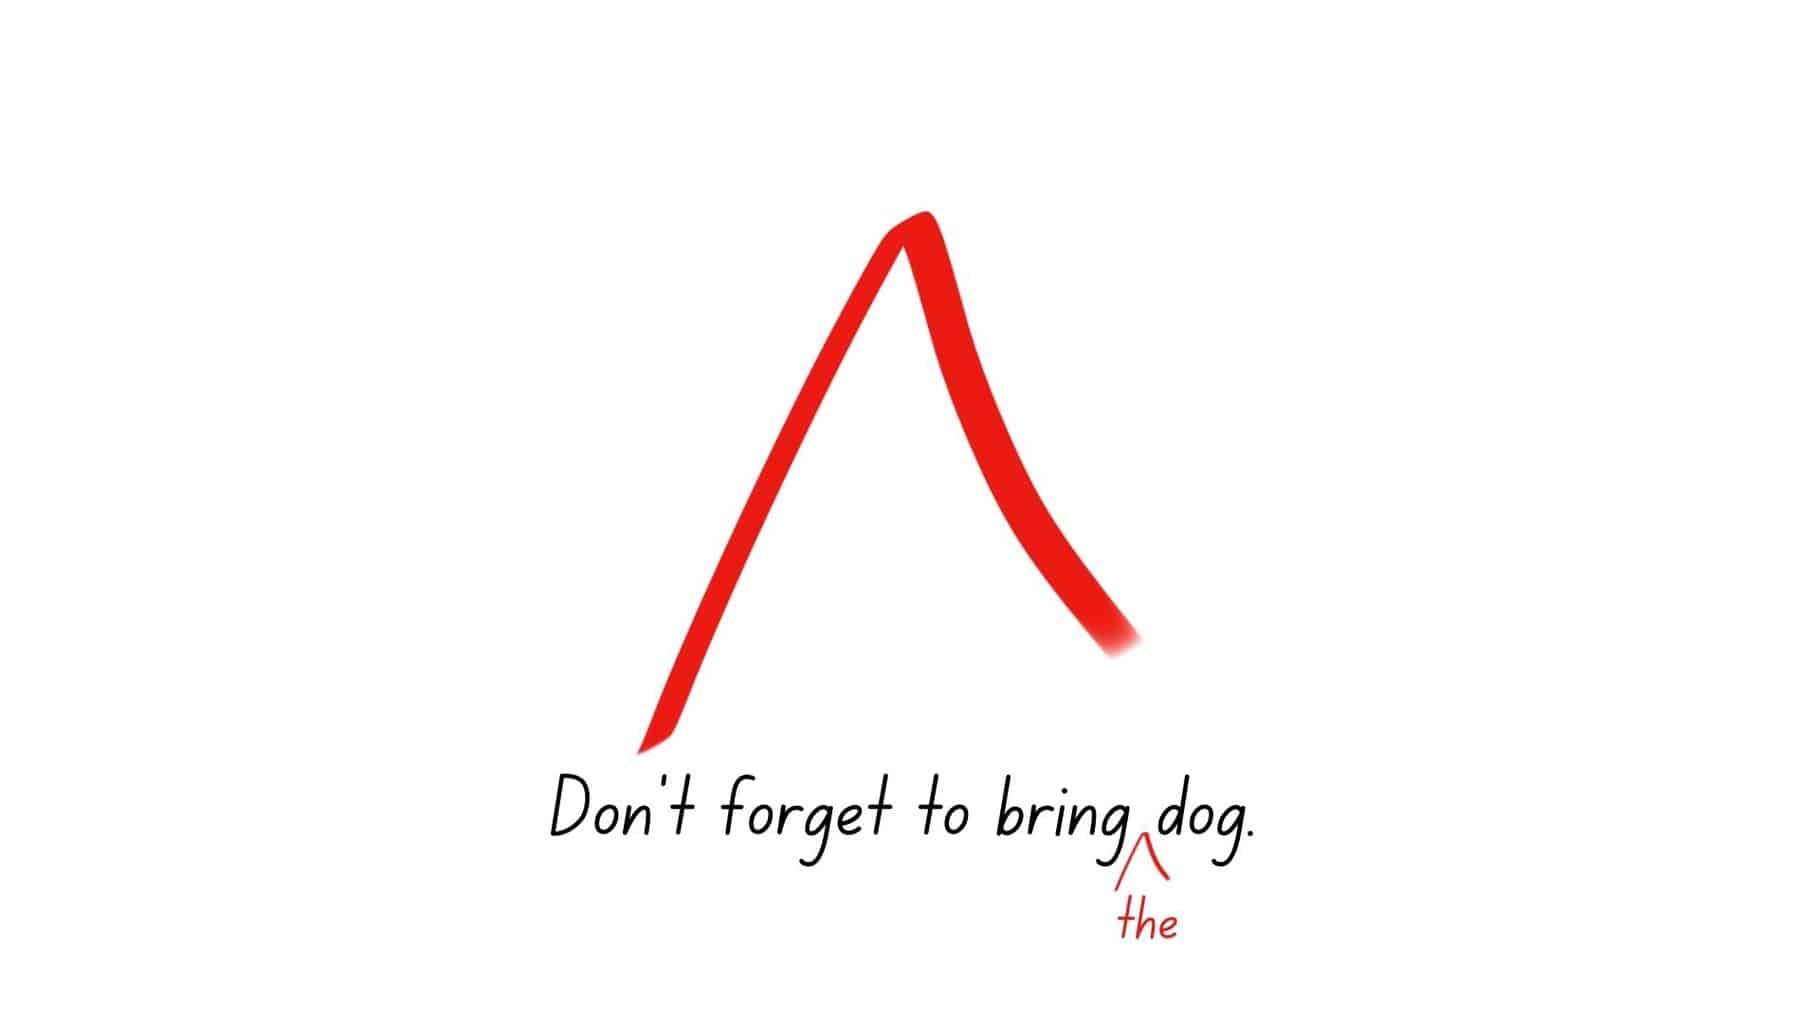
The caret (^) is not just a symbol for an exponent in a computer, it’s a traditional proofreading mark used in the editing process. When you see this sign in a proofreading context, you need to insert any word or element the proofreader suggests.
Insert en Dash
The en dash is a misunderstood mark of punctuation that is longer than the hyphen but narrower than the em dash. Use the en dash to denote ranges of dates, distance, destinations, and more. You may also use the en dash to make complex compound adjectives look clearer.
Insert em Dash
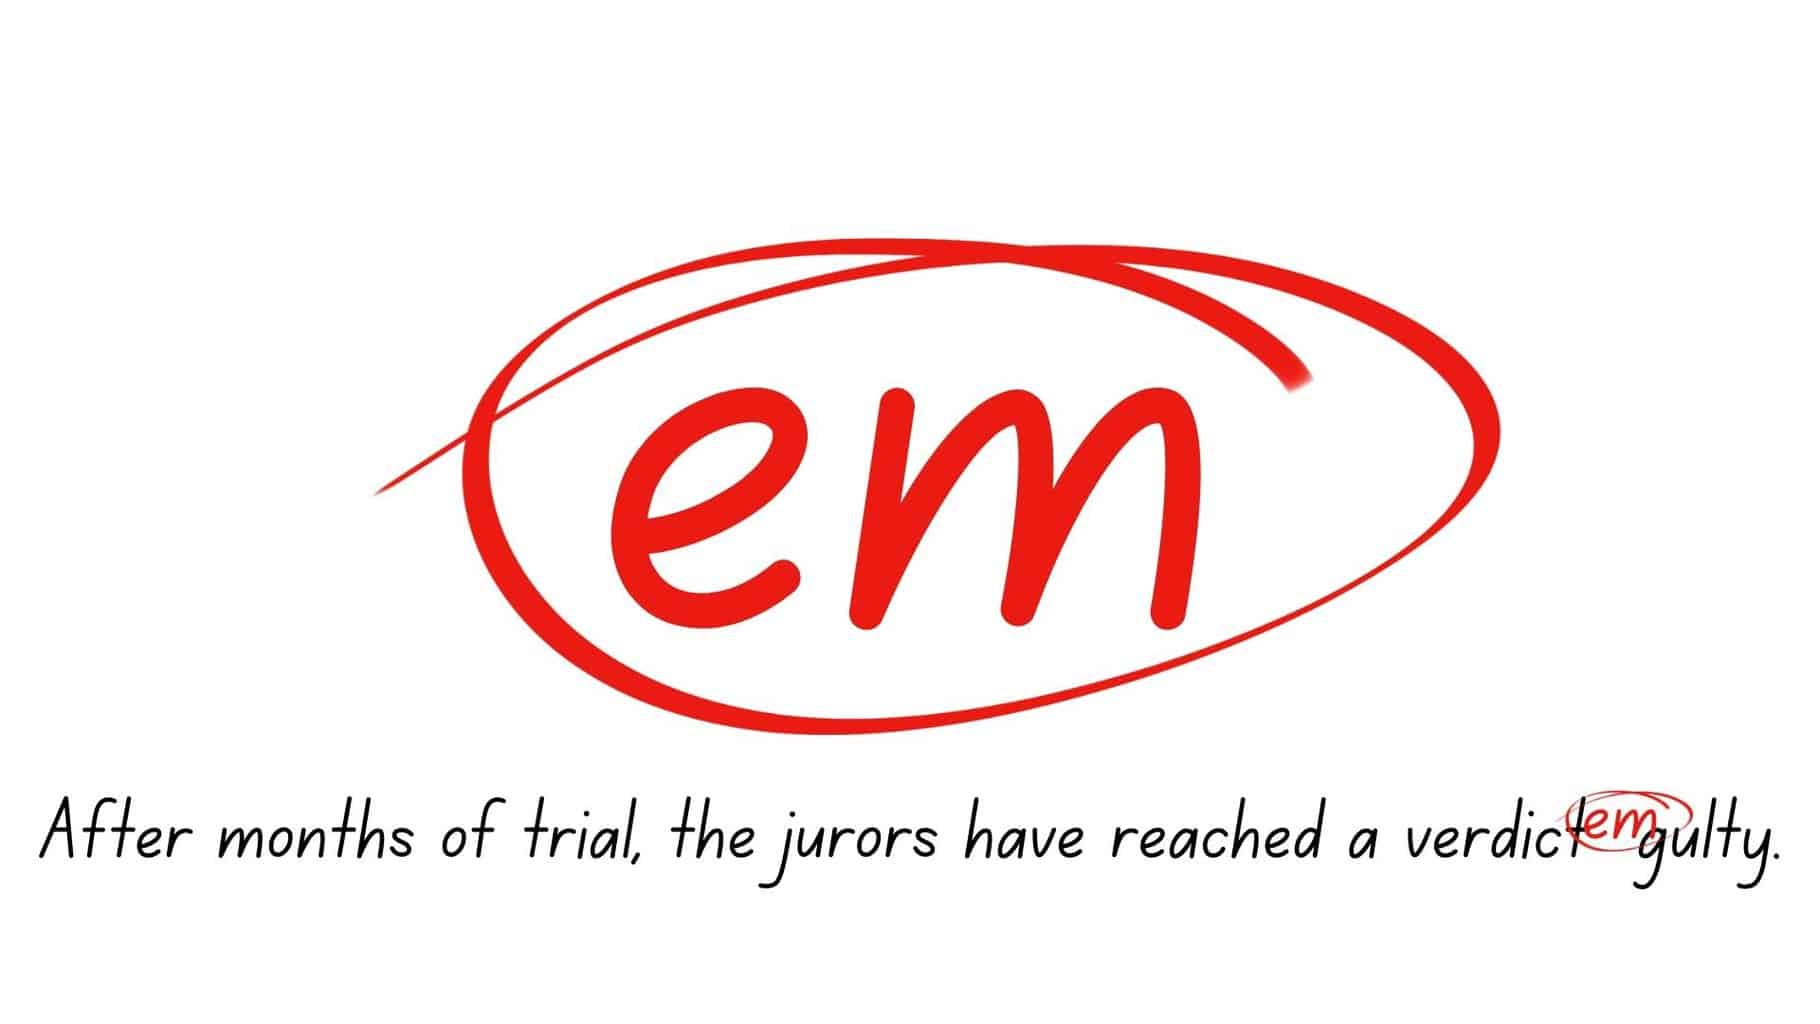
In terms of punctuation marks like this, the em dash is the most extended dash, which can replace parentheses, colons, and commas. This is a common editing mark and has several uses, but its primary purpose is to separate clauses and huge parts of the sentence.
Em dashes are rarely found in formal texts. Use these signs to maintain the flow of the sentence while drawing attention to a specific part.
Set in Lowercase
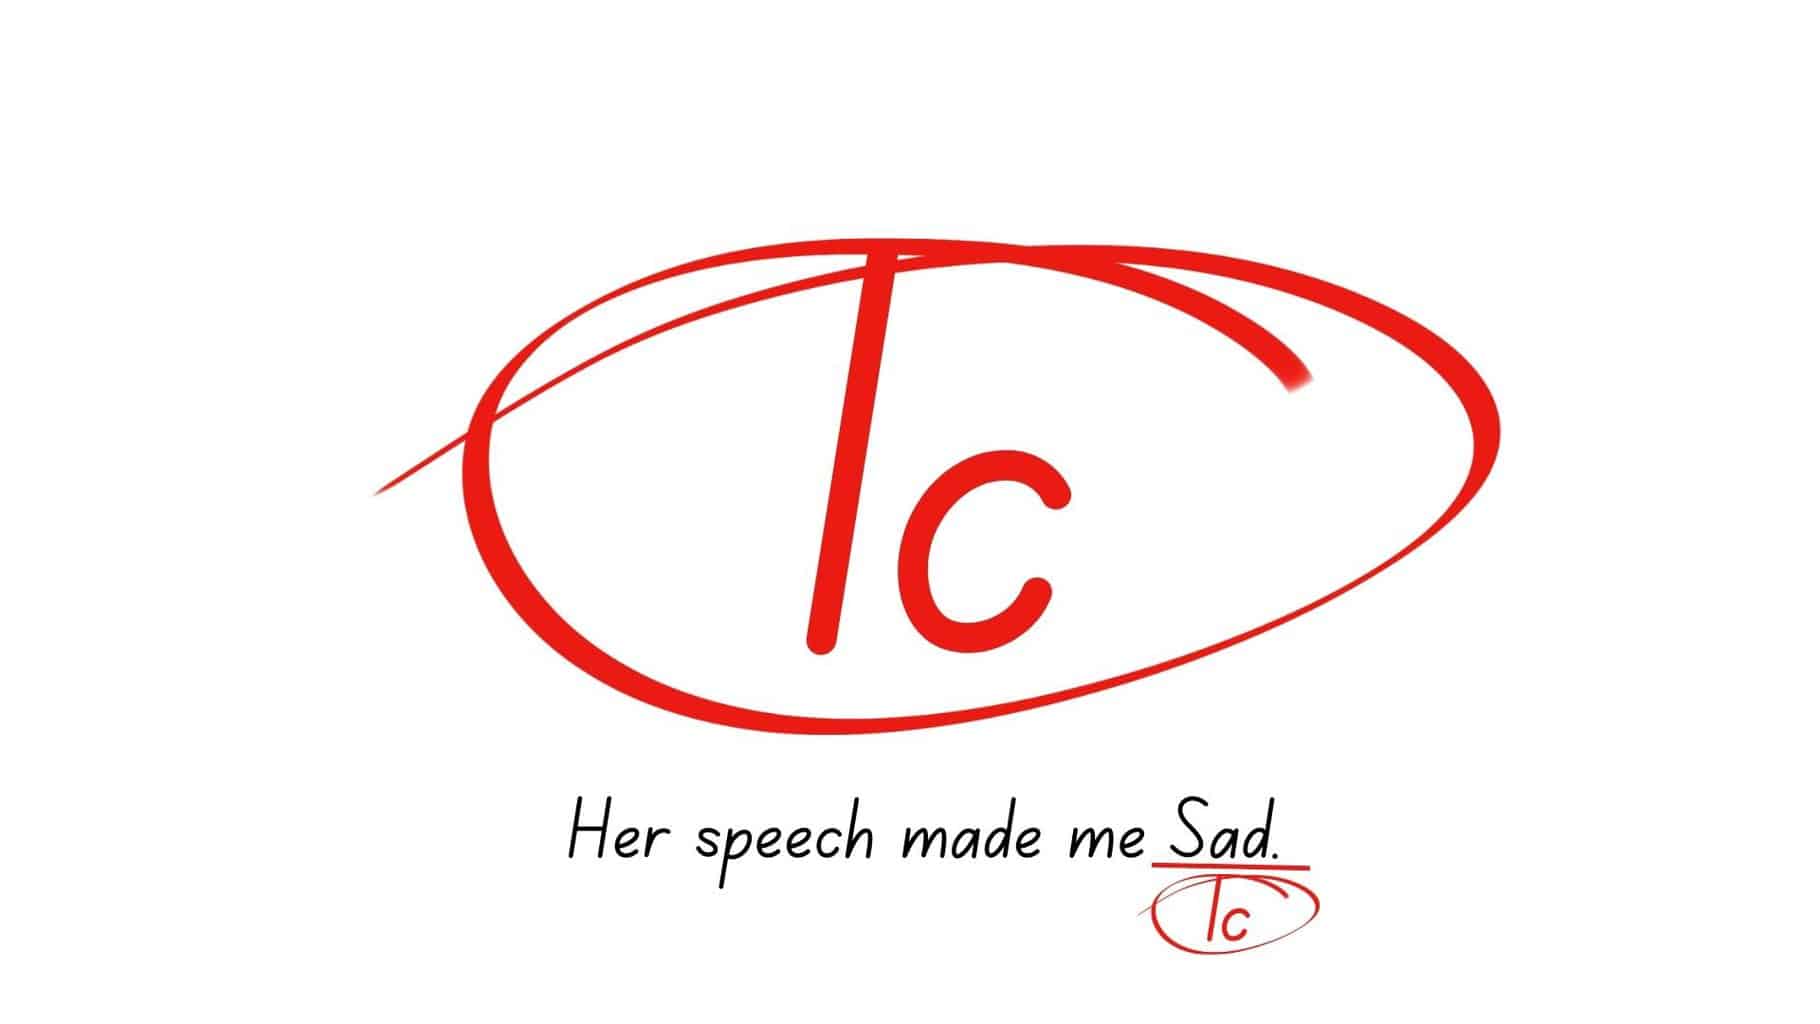
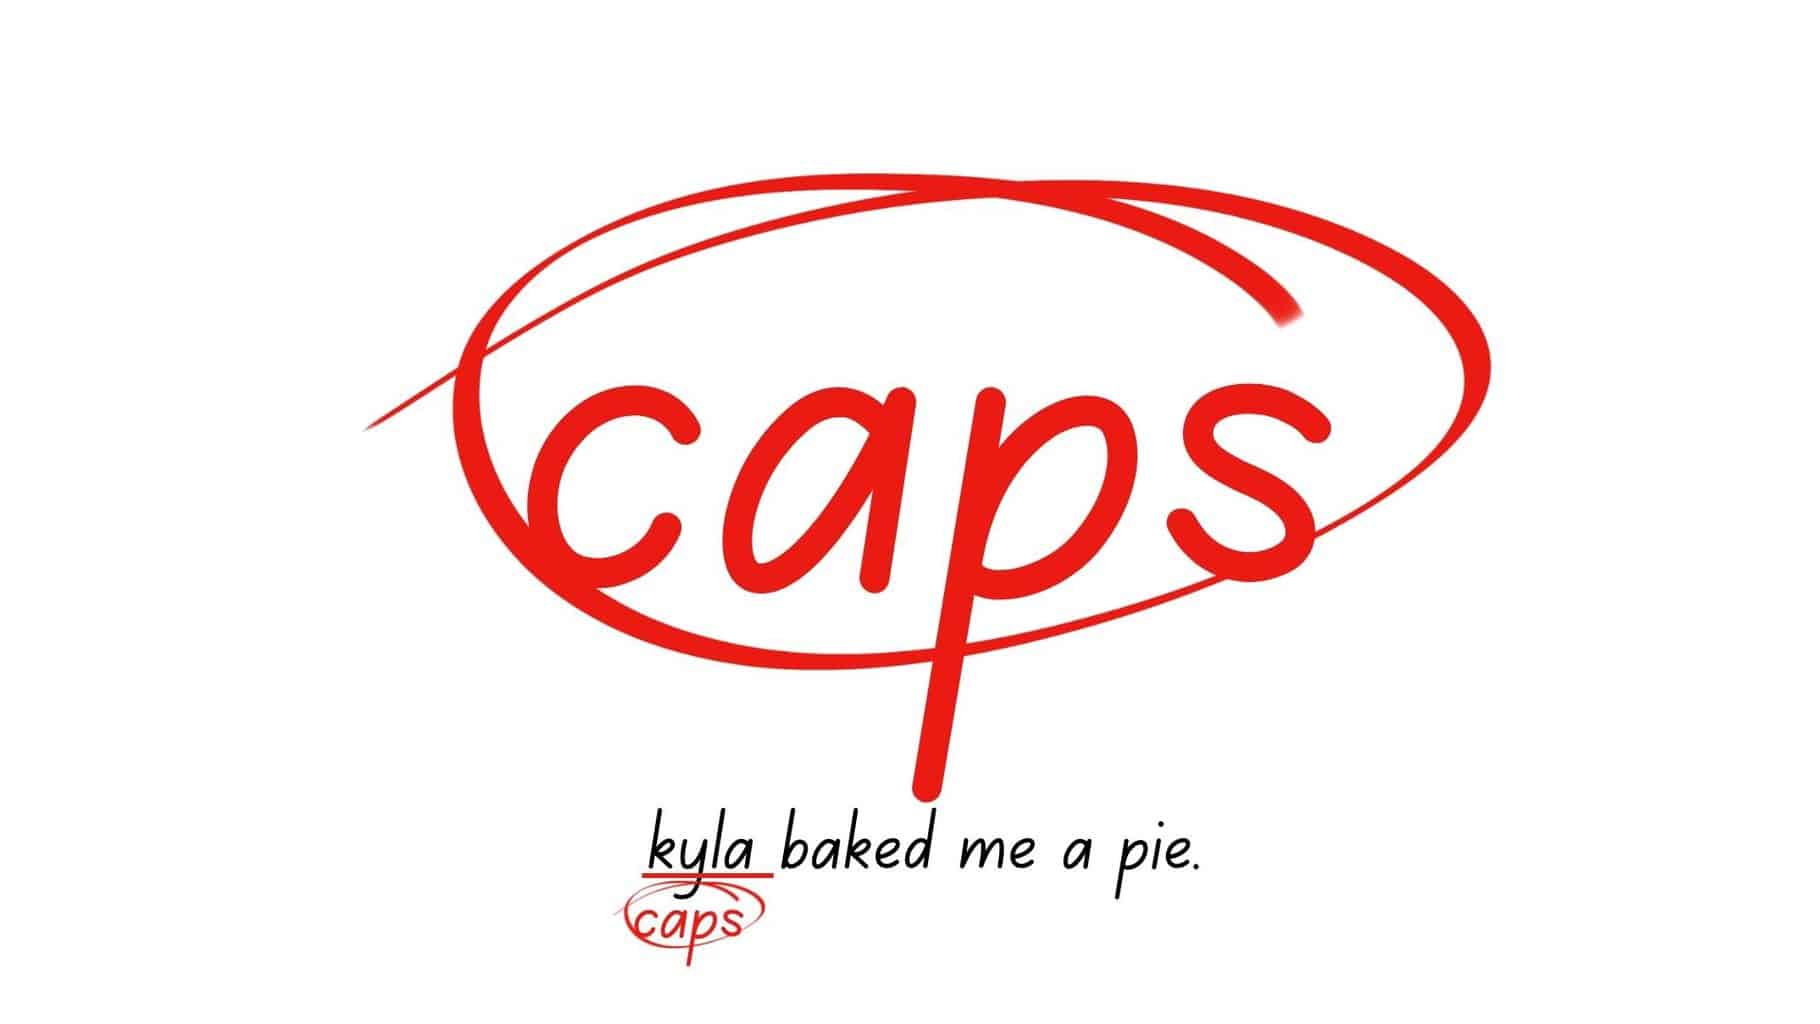
“lc” encircled is the editing symbol for lowercase. It means the word should start with a small letter instead of a capital one.
Change to Capital Letter
Use this proofreading symbol if a word should start with a capital letter instead of lowercase letters. You can also use the sign for multiple capital letters in the word.
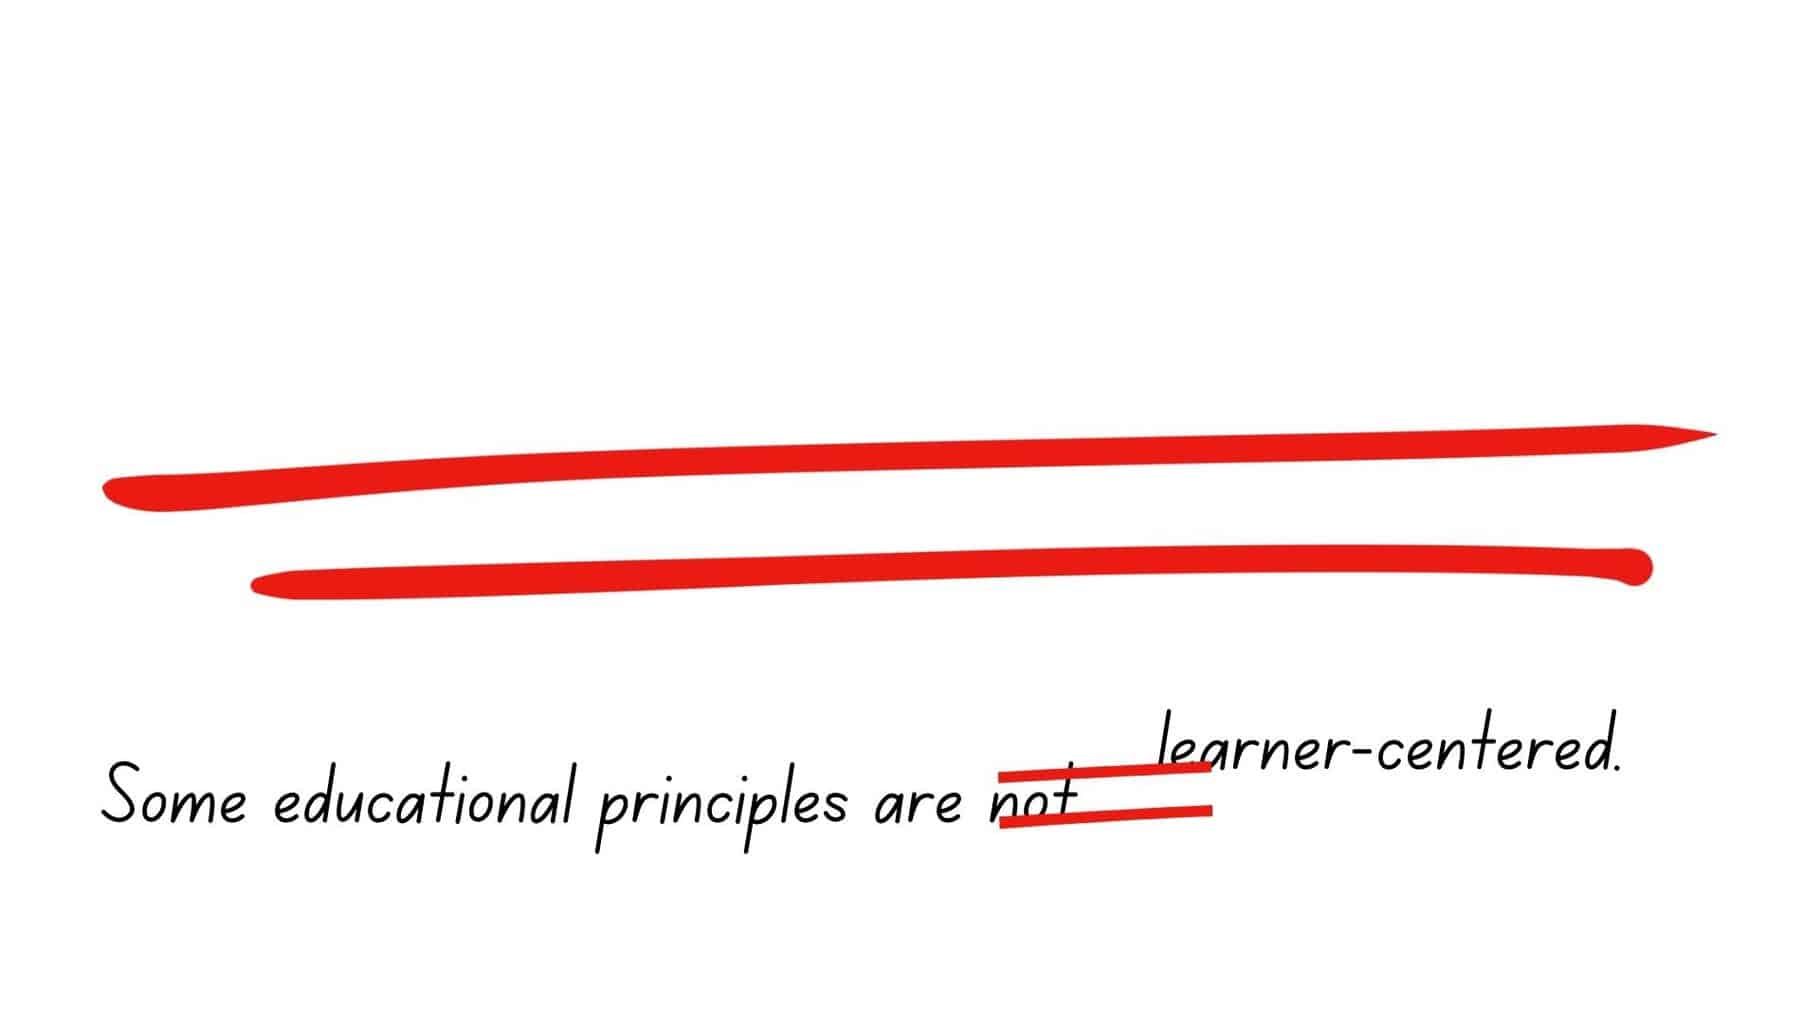
Align Horizontally
This proofreading symbol uses two horizontal lines on top of each other to look like an equal sign. Use this symbol to let the author know that the text is not horizontally aligned.
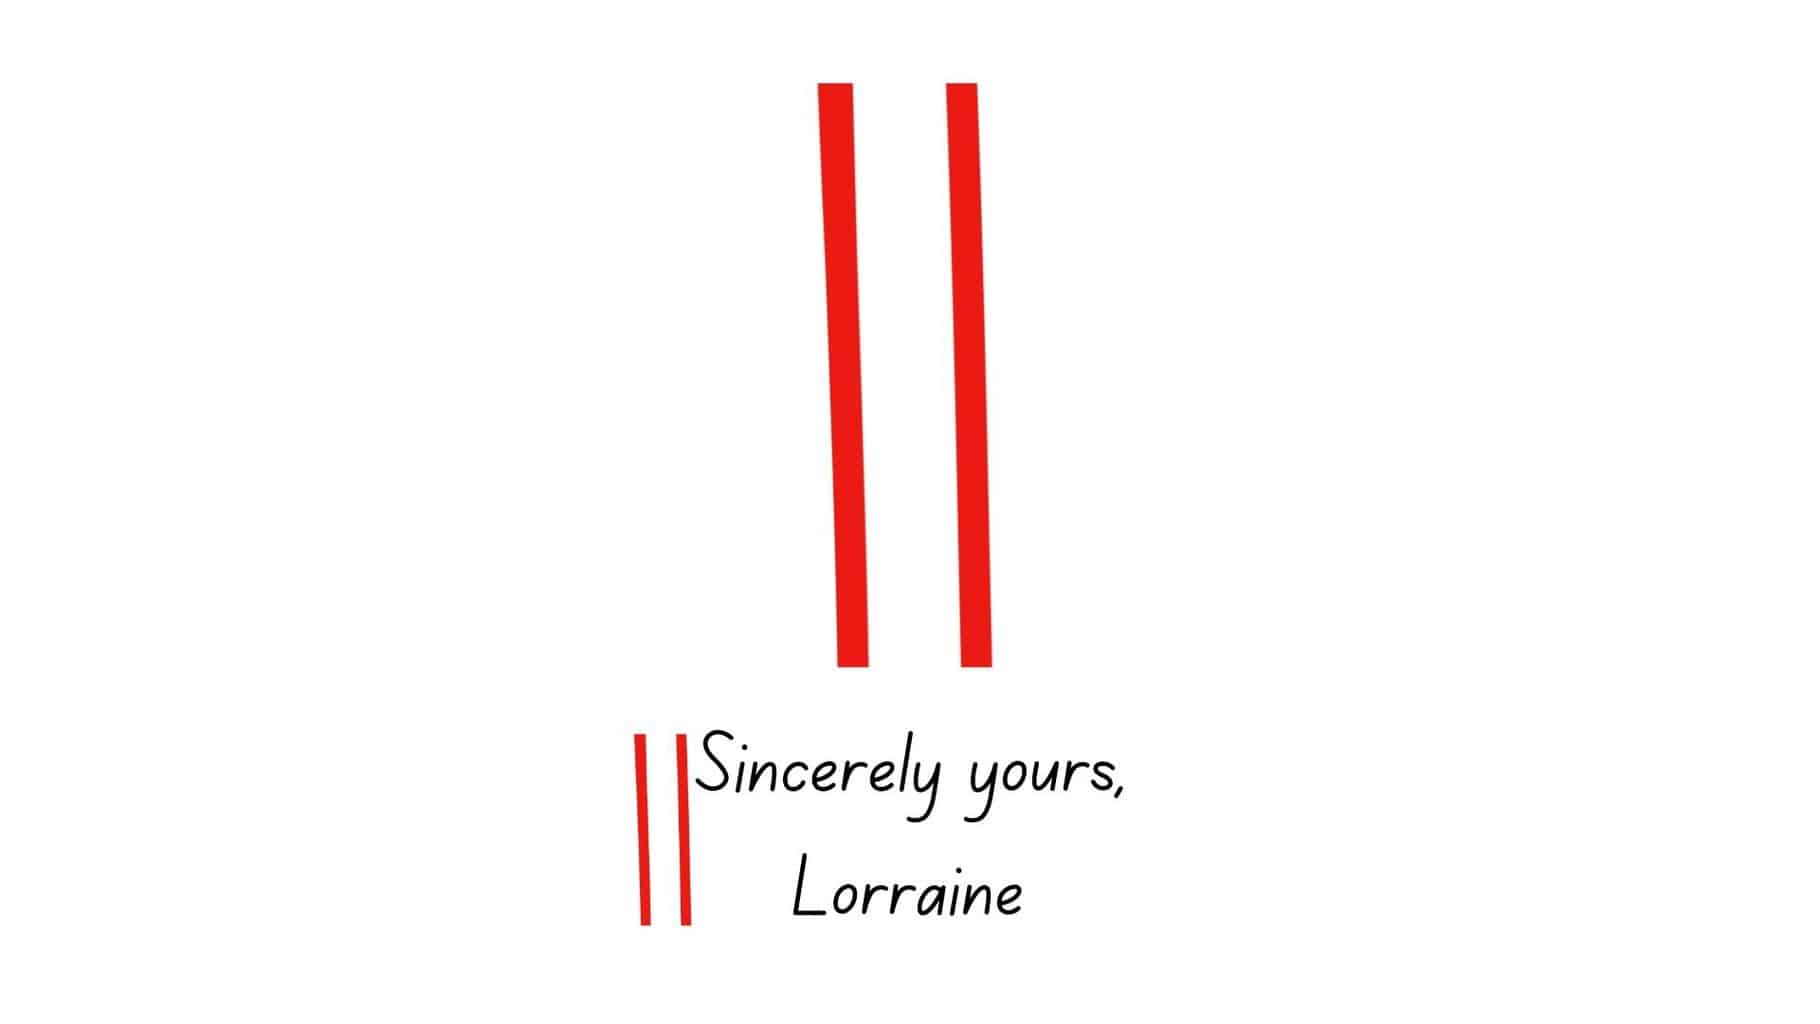
Align Vertically
The symbol for aligning the text vertically is the same as the previous one, except the lines are standing up.
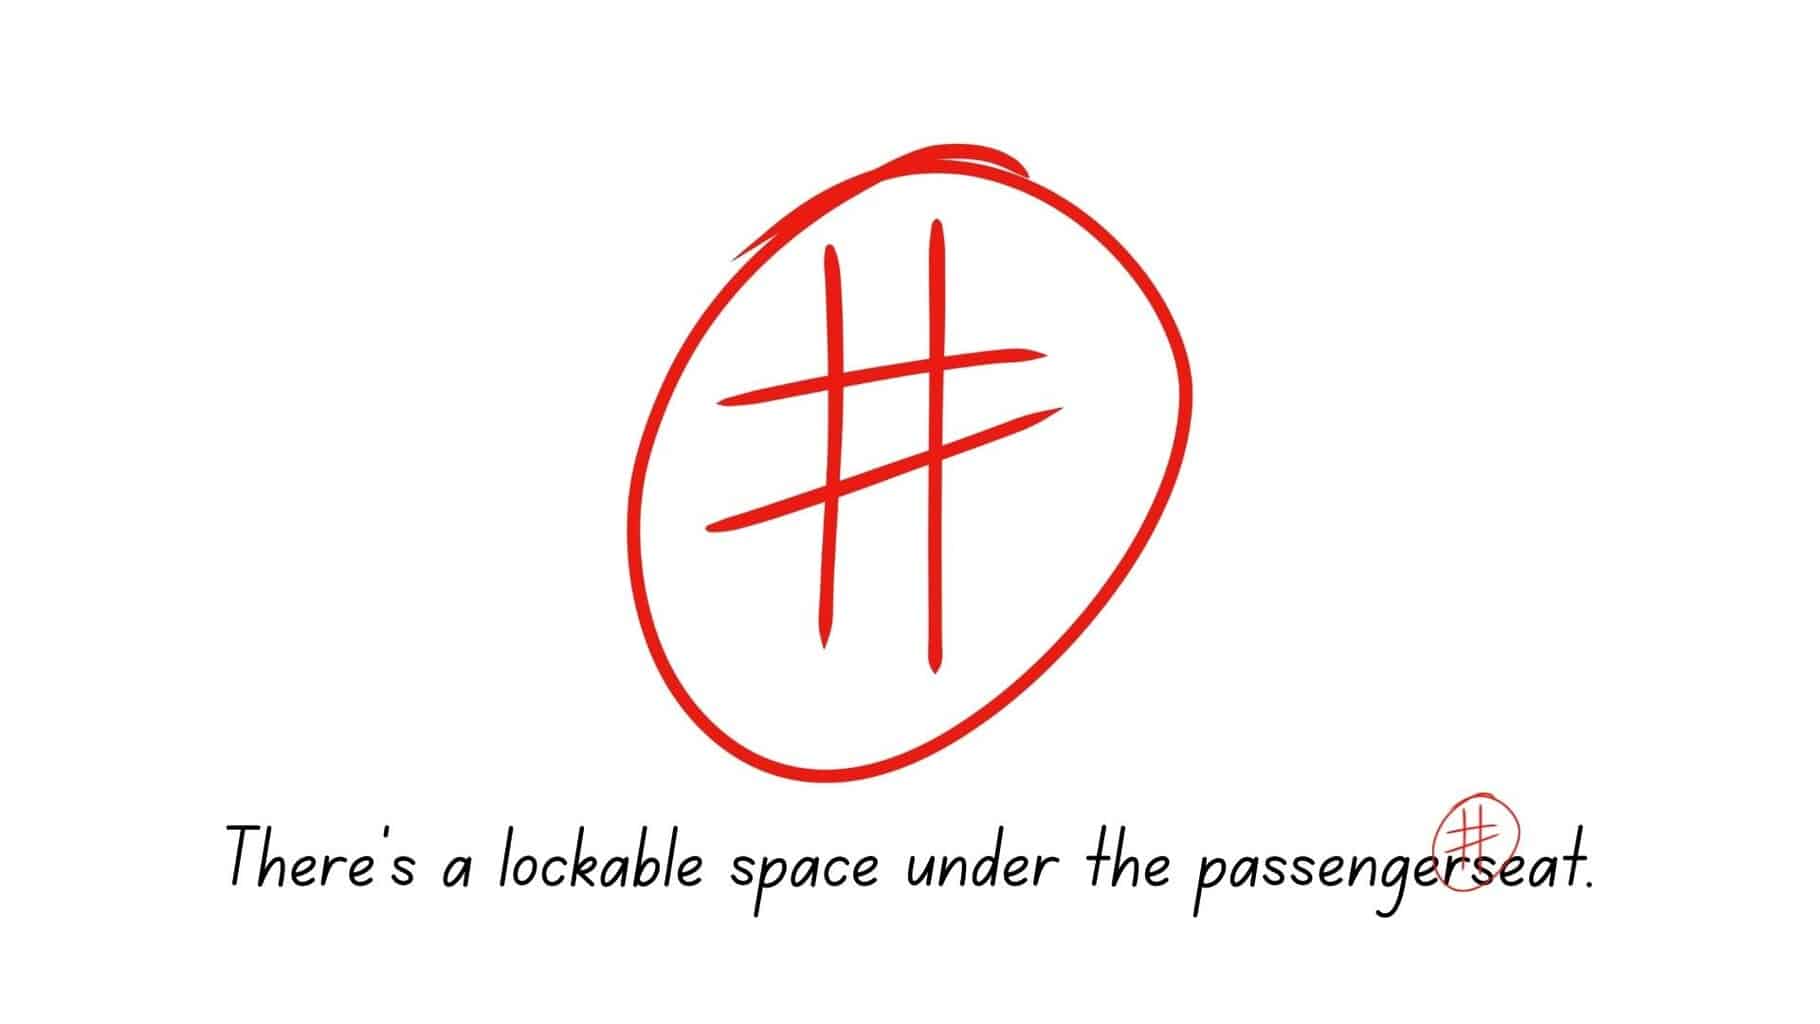
Add Space
The number sign means you must add space between the two words. Whether it’s punctuation errors or word changes, this symbol is often used. Some proofreaders use this symbol without encircling the number sign.
How Do I Use Proofreading Marks in Word?
There are new ways to proofread on word processors without memorizing these symbols. But if you’re an old soul who enjoys marking, try installing a plugin for proofreading marks.
To insert the plugin, open your browser and go to the Greg Maxey website. Select “Resources,” then click “Proofreader Marks Add-in.” You’ll find it at the end of the page.
Then, it will open a dialog box and some prompts you need to follow. Open MS Word, and you will see a new “Proofreading Marks: section on the “Add-Ins” tab. Now you can apply proofreading marks on your document like a professional proofreader.
When proofreading, you must drag the cursor on the text that needs a mark. Select the drop-list under the ribbon and choose the correct mark. Don’t forget to save your changes.
Proofreaders’ Marks vs. Track Changes in Microsoft Word
Whether proofreader to author or publisher to publisher or even if you’re just doing it for your own work, everyone has their own way of doing things.
Some modern proofreaders would rather not use these symbols on Microsoft Word because they don’t want to download the add-in. Instead, they enable “Track Changes” to make suggestions on the writer’s document.
One advantage of the “Track Changes” feature is its built-in. Select “Review”, click “Changes,” then choose “Track Changes.”
You can delete or add any word on the document and change it to a new one. Once you send the document back to the author, they can accept or delete each change you made.
Comments are also available when you track changes. You can leave suggestions like “insert more examples” or “look for a synonym” so the writer can improve their written piece.
Memorize the Proofreading and Editing Signs
Proofreading refers to reviewing one’s written works and correcting errors using different paragraph editing symbols or notations. For example, the letters “lc” represents the editing symbol for lowercase. The closing bracket means you need to move your text to the right.
I hope this guide on proofreading and editing symbols with examples helps you identify more errors in writing. Keep practicing until you’re ready to start a proofreading career. And let us know if you have questions about proofreading mark making.
